
Do you wish there was a way to get the gist of an article without spending hours reading? Maybe you run a busy newsletter, and you want a way to quickly skim through articles to determine which ones are worth sharing with your audience. Or, if you're anything like me, you're trying to keep up with all the recent developments in AI tools and have far more items on your reading list than you'll ever be able to get to.
Whatever your use case, this solution will be perfect for you! With this simple automation, you can generate AI summaries of articles with just two clicks, directly from your browser. Whether you're researching for work, catching up on news, or just browsing, this setup will revolutionize the way you read online.
How it works
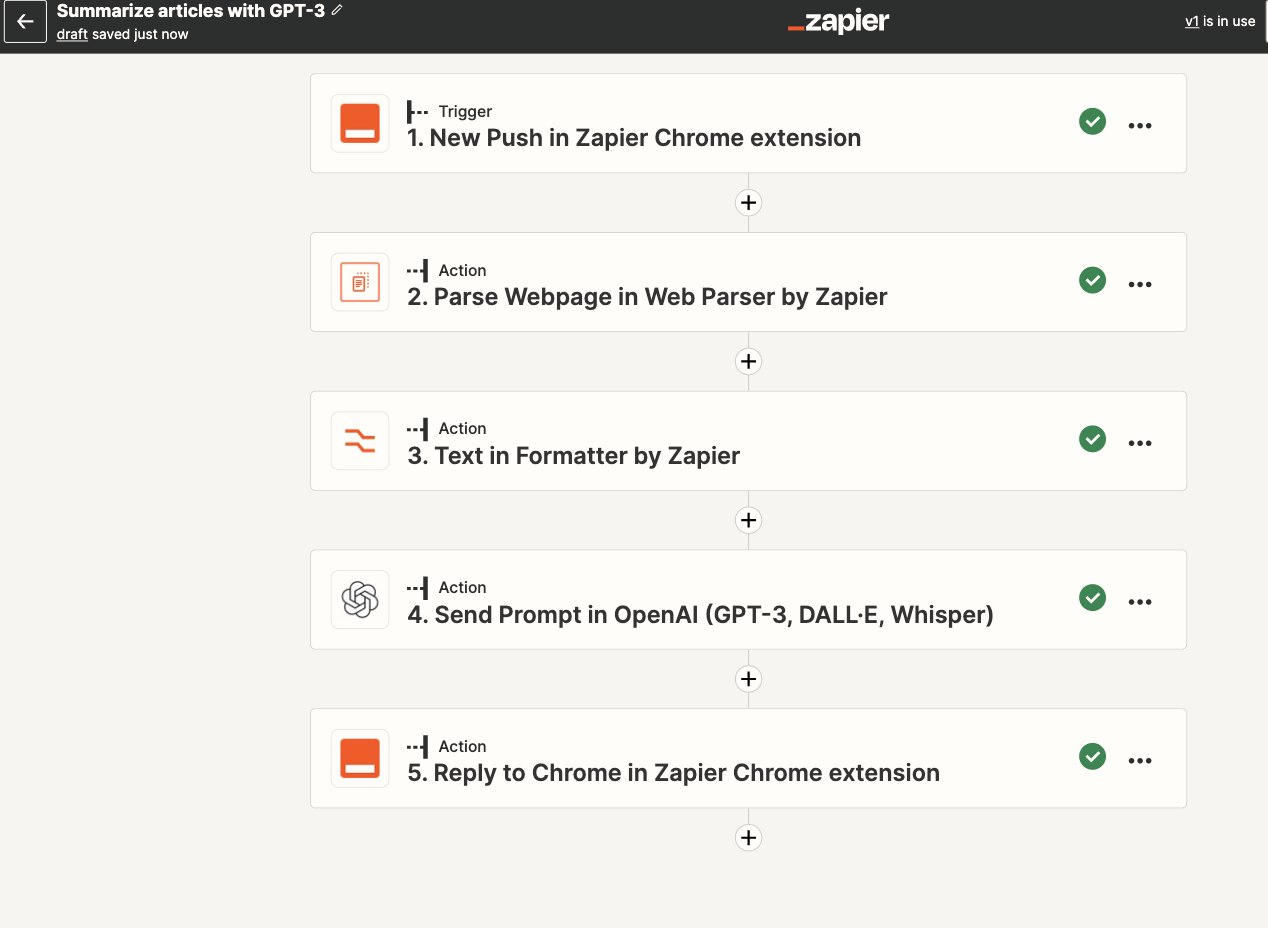
For this project, we'll be using the Zapier Chrome extension to send articles and receive summaries directly from our browser. In total, our Zap—Zapier's automated workflow—has 5 steps:
- Trigger: Receive a push from the Zapier Chrome extension
- Action: Parse the web page that was pushed to retrieve the article text content
- Action: Truncate the text with Formatter by Zapier
- Action: Send a prompt to OpenAI's GPT-3 to summarize the article for us
- Action: Send a reply back to the Zapier Chrome extension with the article summary
You can create your own Zap from scratch without any coding knowledge, but we also offer quick templates to get you started.
If you'd like to start with a template, click on the Zap template below to go to the Zap editor. You'll need to create a Zapier account if you don't already have one. Then, follow the directions below to set up your Zap.
Before you begin
Before we begin developing our Zap, you'll need an OpenAI account if you don't already have one. Go to platform.openai.com to sign up for your account.
You'll also need to download the Zapier Chrome extension if you haven't already. The Zapier Chrome extension is a cool little tool that lets you run zaps right from your browser. It's context-aware, so you can pass information from the website you're on directly to your Zap, which is how we'll be collecting the article information for our GPT-3 summaries.
Create the Zapier Chrome extension trigger
Now that we have the Zapier Chrome extension installed, we can get started creating our Zap. First, click the Zapier Chrome extension in your extensions toolbar. It's the orange box highlighted in green in the image below.
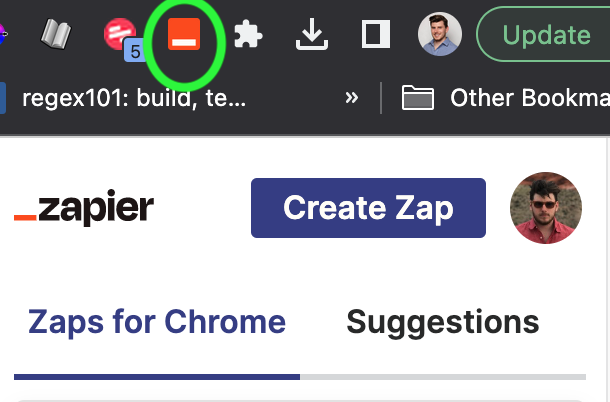
Next, click the Create Zap button. This will open a new Zap with Zapier Chrome extension selected for the trigger app and New Push for the trigger step. You can also do this step manually by creating a new Zap in the Zap Editor, or, if you're using the Zap template, this will already be selected for you.
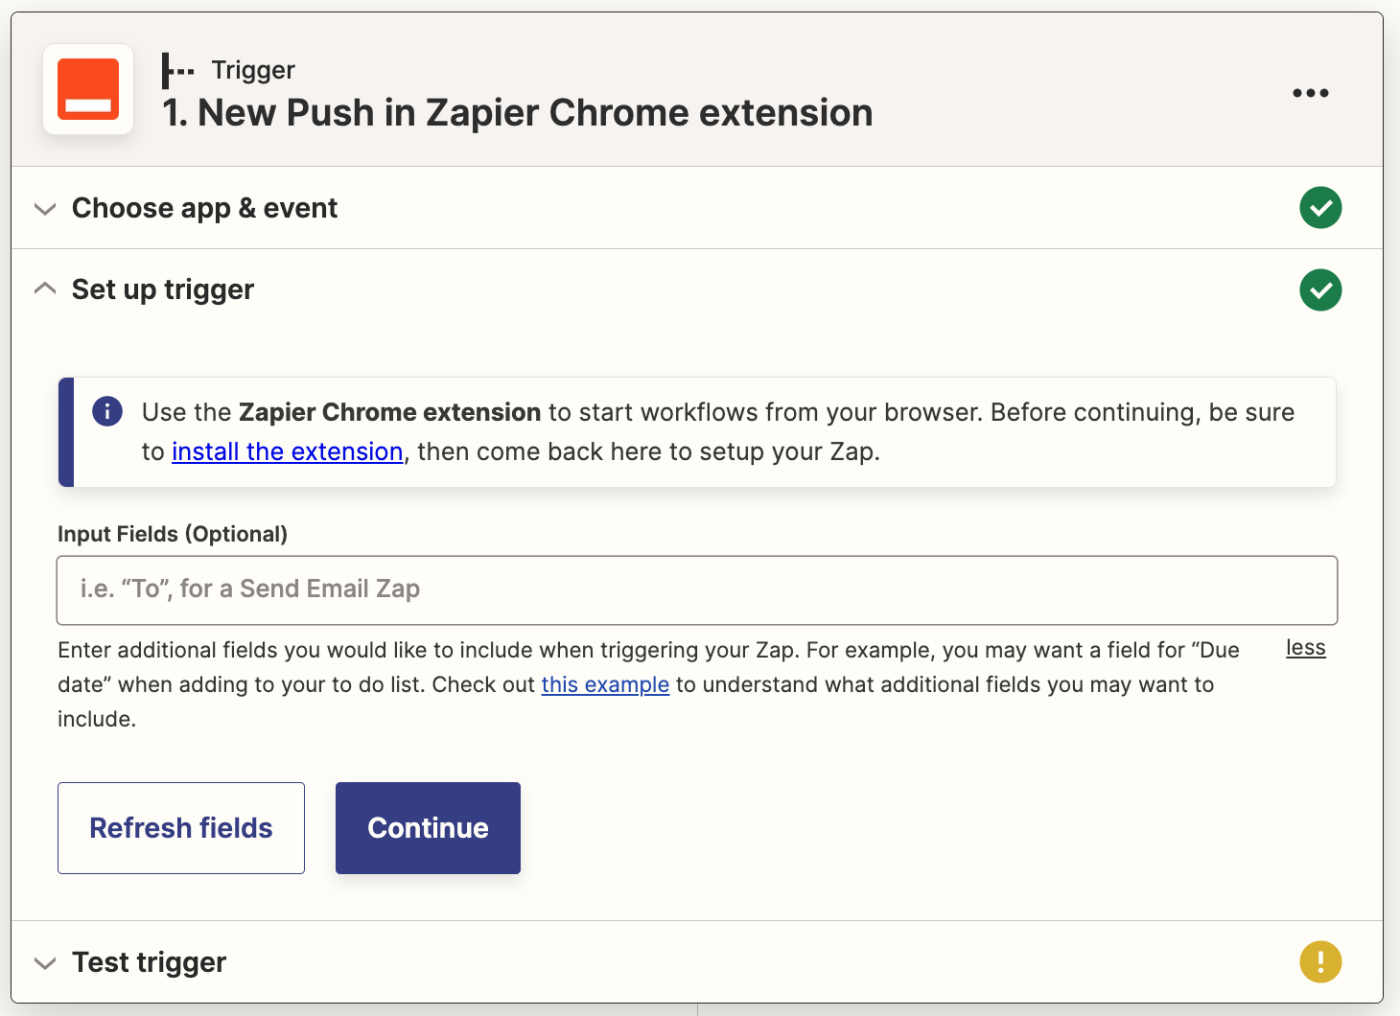
This trigger step allows you to define custom Input Fields that will be available when you trigger the Zap from your browser extension. For our purposes, we won't be needing this, so you can leave the Input Fields section blank.
Click the Test Trigger button and you should receive an example data push as shown below:

Set up the Web Parser action to parse the article content
So far, we've set up a simple Zap trigger that lets us send the current web page to Zapier for processing. As you can see in the test data above, however, the information we have at this point is relatively limited. We have the title of the page, the URL, a timestamp, and an email address.
If we want to summarize the actual content on the page, we'll need some way to determine what content is available at the URL provided here. That's where Web Parser by Zapier comes in!
Web Parser is a built-in Zapier tool that lets us parse a web page and retrieve the content.
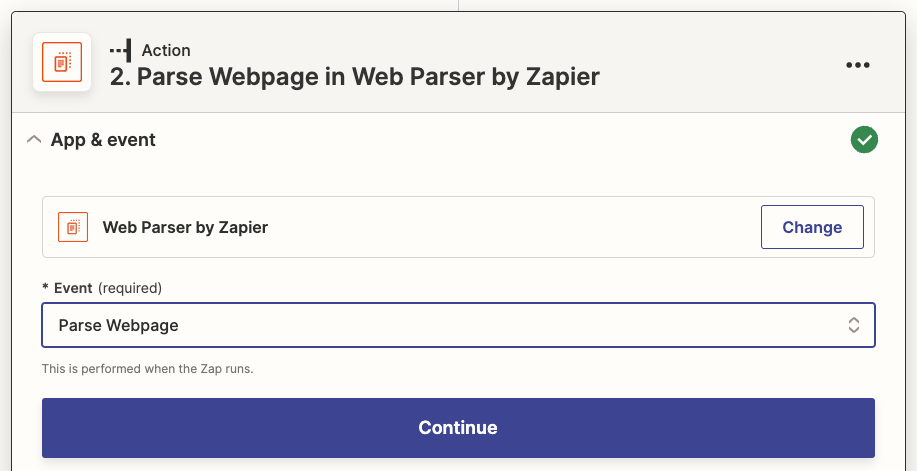
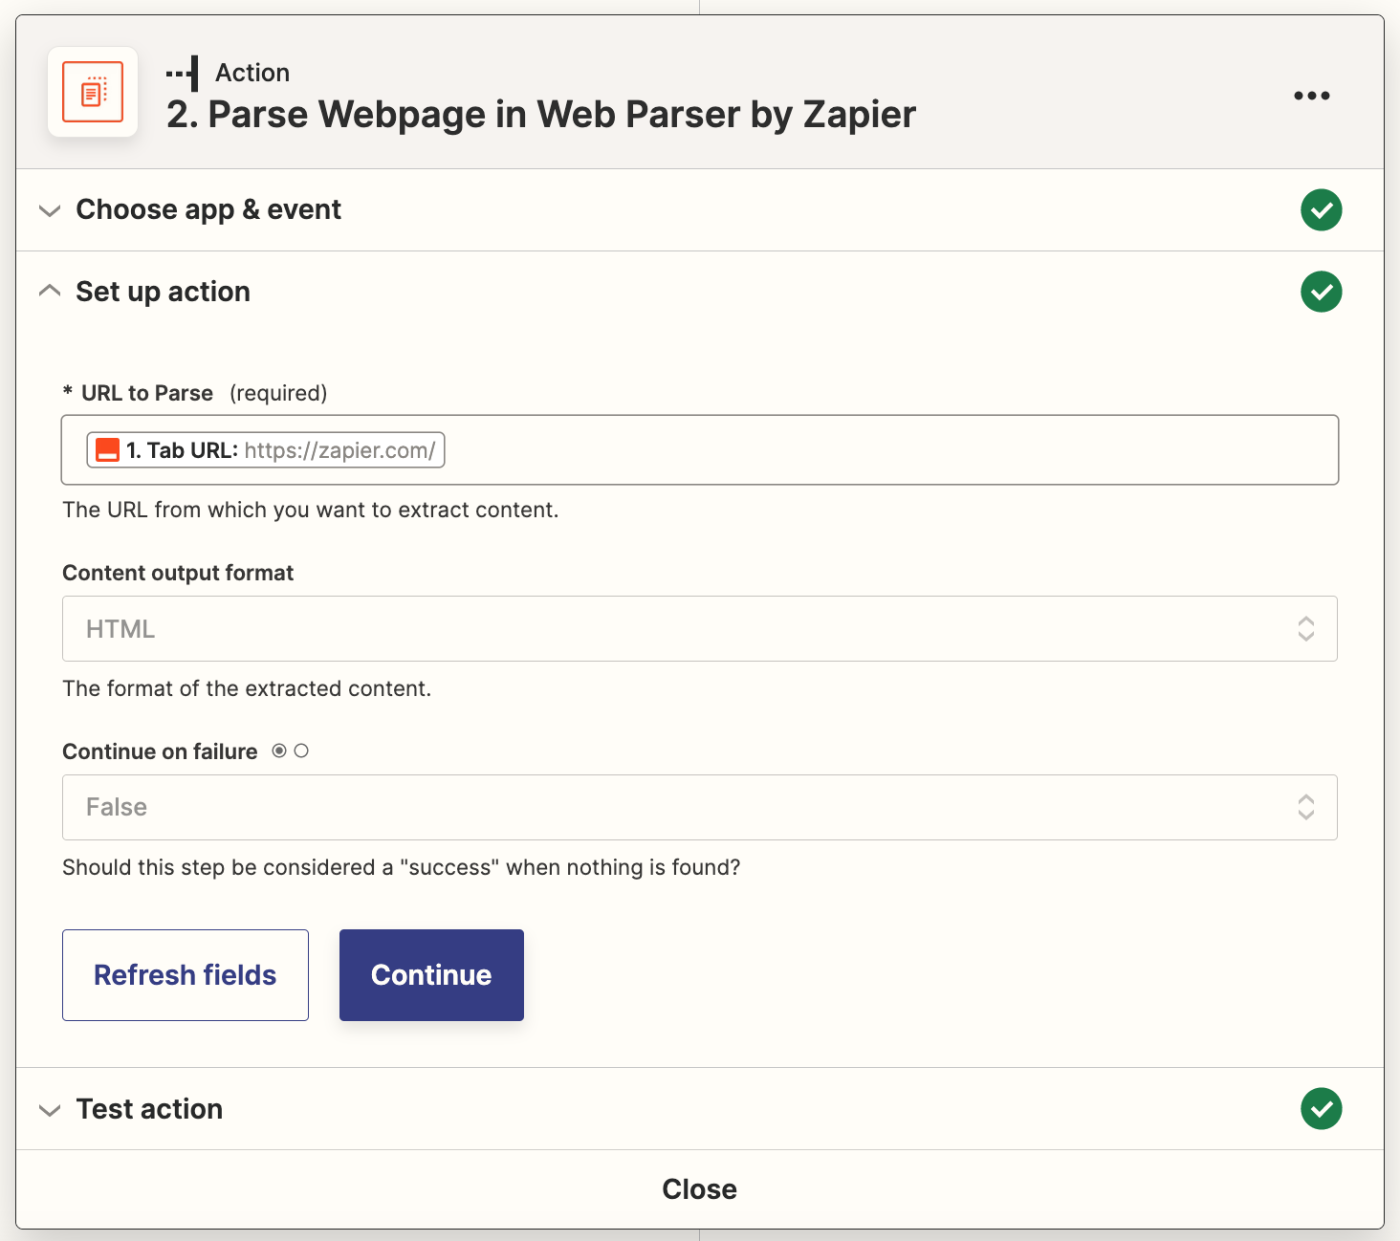
Add a new action step after your trigger, then select Web Parser by Zapier for your action app and Parse webpage for your action event.
Next, map the Tab URL from your trigger step to the URL to Parse field by clicking in the field and selecting the data from the dropdown. Select HTML for the Content output format and select False for the Continue on failure option.
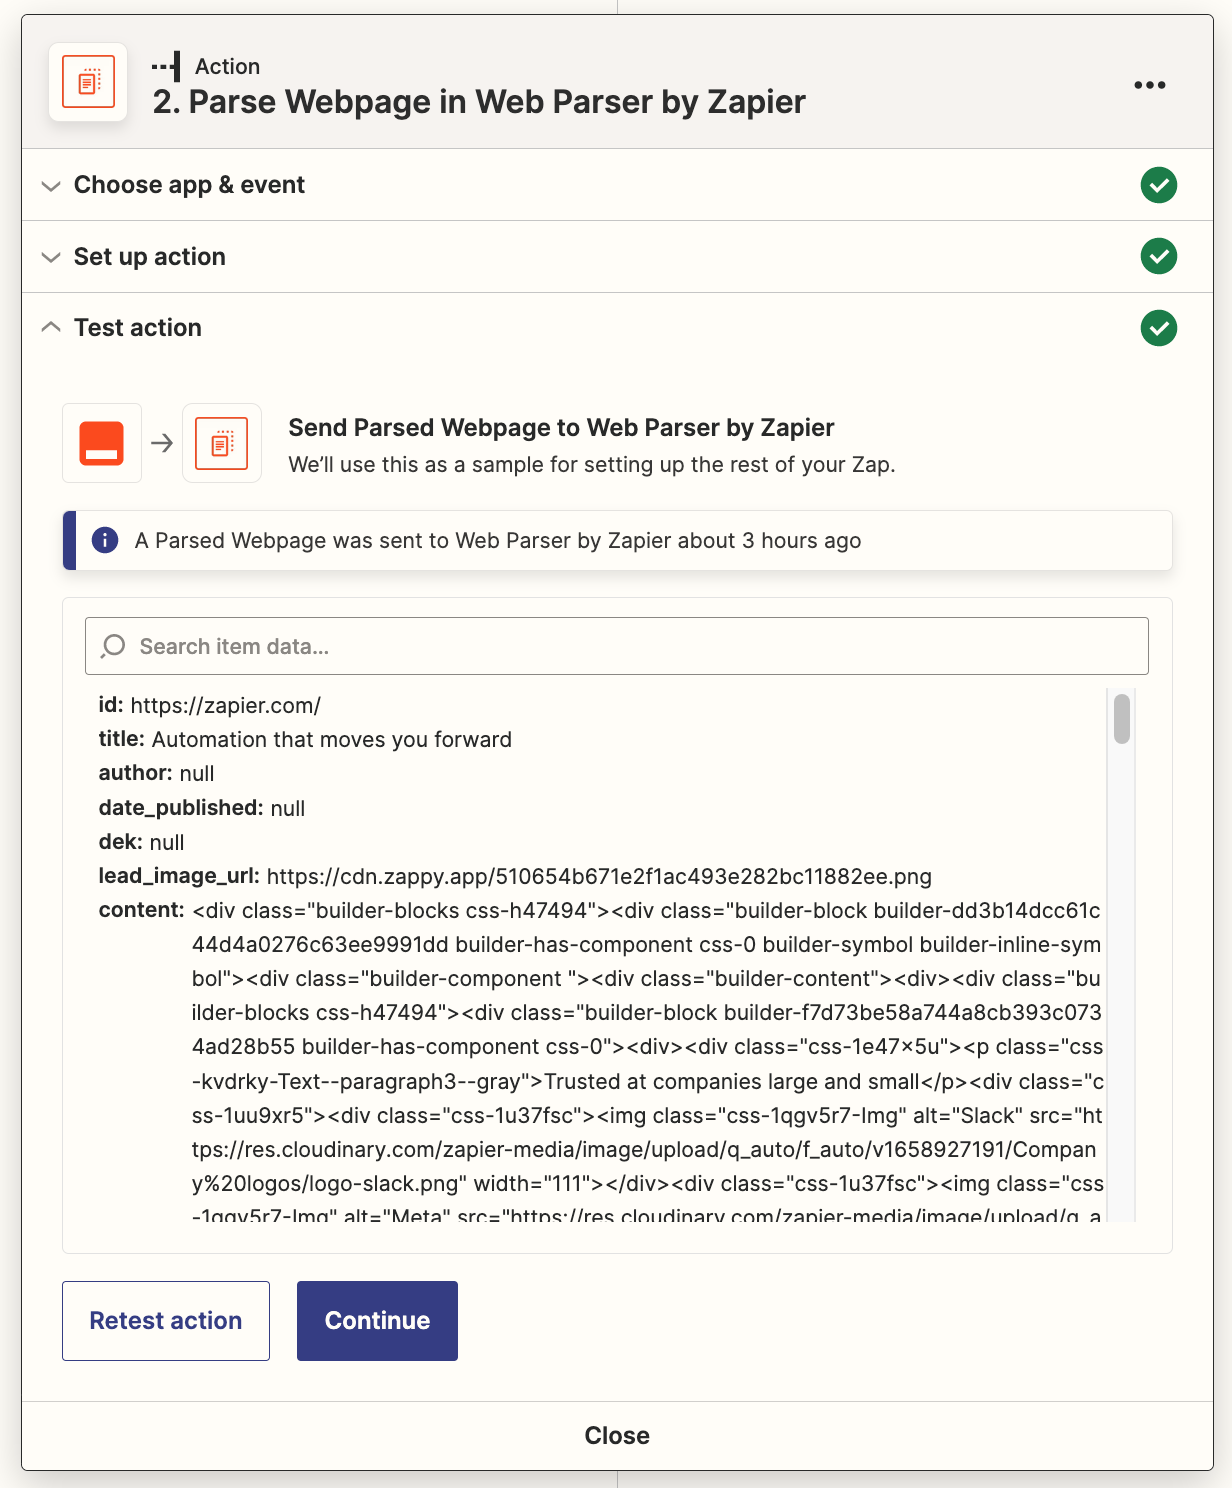
Test your action and you should see something similar to the result in the image below. We're primarily interested in the content field, which returns the main content from the website. In this example, we see some relatively complex HTML. That's because this is pulling the content from the Zapier.com website homepage and not from an article. Later, when we test this process on an article, the content field will be the full text of the article we're reading.
Set up a formatter step to truncate your article
Currently, GPT-3 only allows you to send a limited amount of data to summarize, so we'll need to truncate our article to make sure we don't exceed this limit. In the future, OpenAI plans to develop new models with higher limits, or possibly no limits, but for now, this is a necessary step.
Click the + symbol beneath your Web Parser action, then search for and select Formatter by Zapier for the action app and Text for the event.
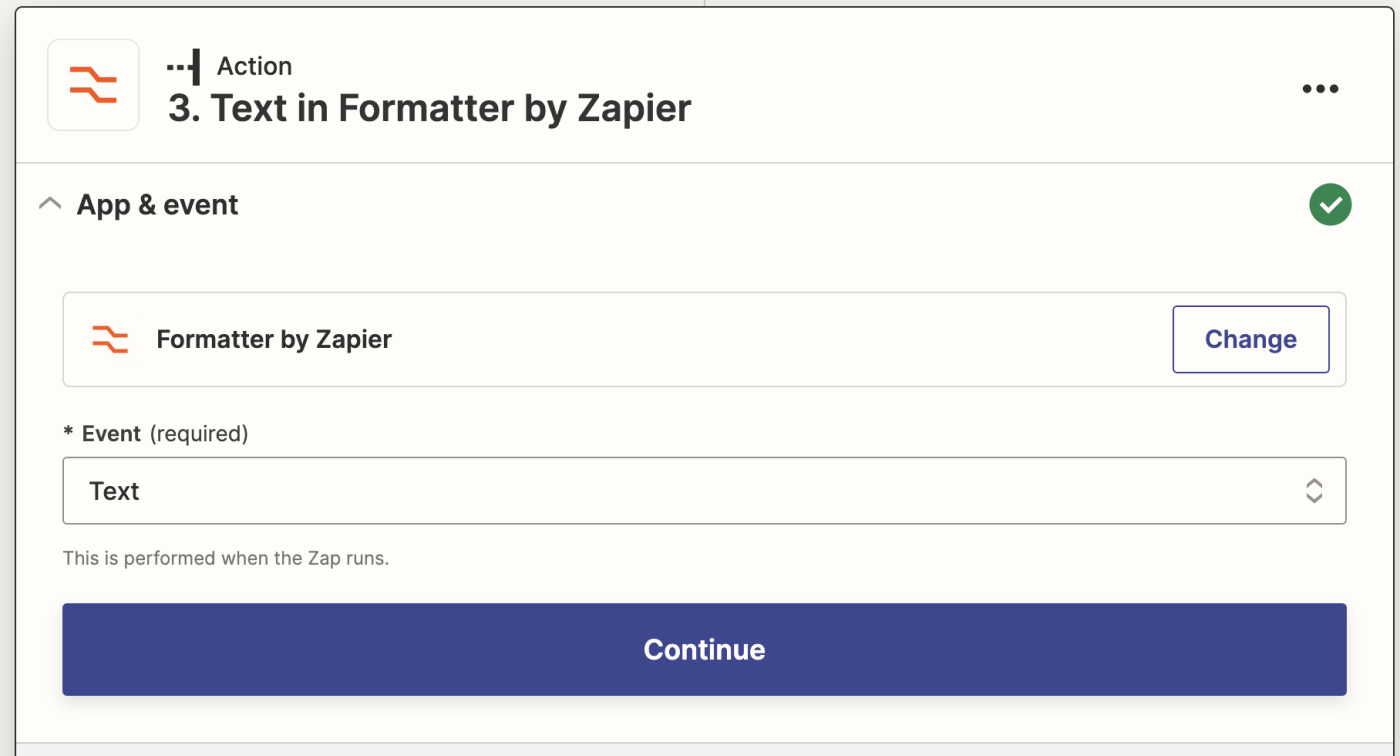
Click Continue.
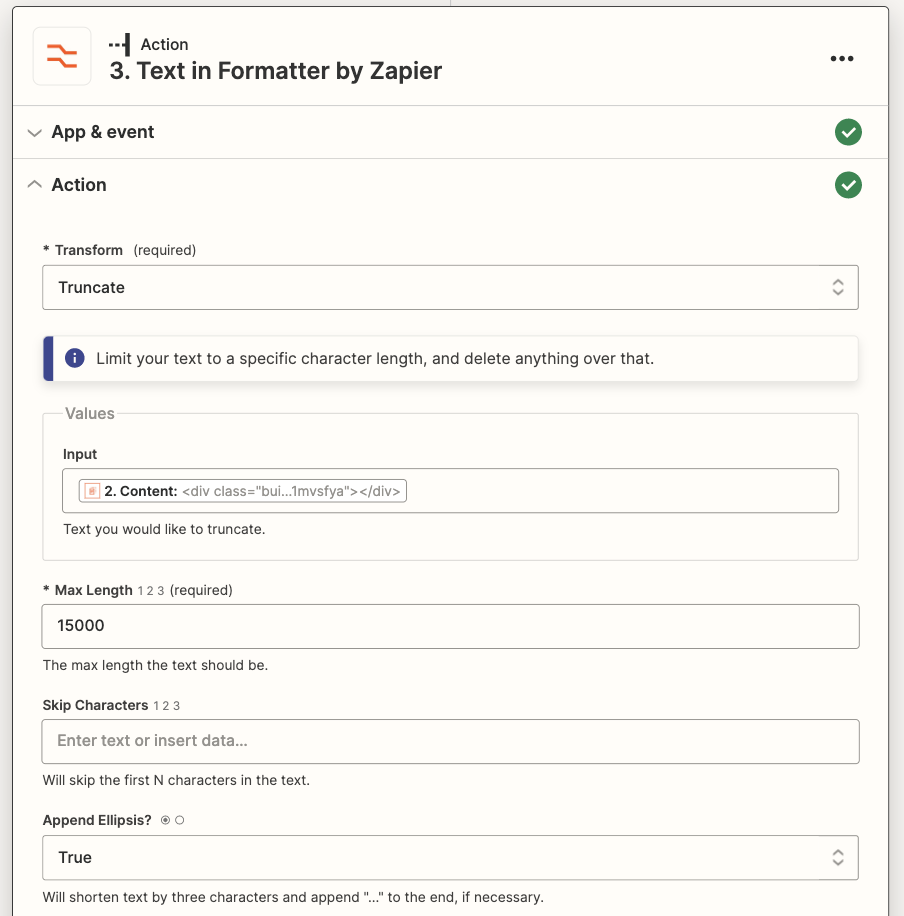
Next, select Truncate as your transform action. Click in the Input field, and select Content from the data dropdown from your Web Parser action—this contains the text body of the article.
In the Max Length field, enter 15000, and then select True for the Append Ellipsis option. Here's what your complete action step should look like:
This 15000-character truncation means that if the article is shorter than 15000 characters, we'll keep the entire thing, but if it's longer, we'll only keep the first 15000. That's roughly the equivalent of between 2142 and 3750 words.
Next, click Test Action to ensure everything is working properly. Next, we'll set up our prompt to send to OpenAI.
Set up the OpenAI action to summarize the article
At this point, we have a process that will send a webpage to Zapier and parse the content. Next, we'll set up the prompt to send the content of our article to GPT-3 for summarizing.
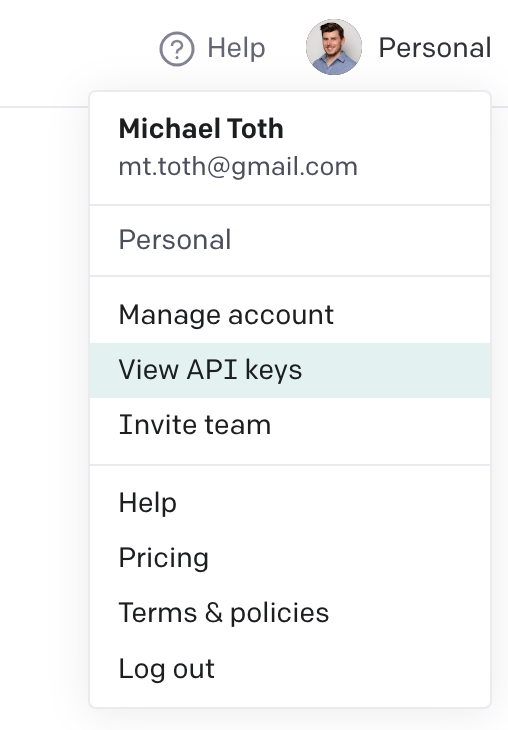
If you haven't set up your Zapier connection to OpenAI, you'll have to do that now. To start, head back over to platform.openai.com to log into your account. At the top right of the page, click on your profile icon and select the View API Keys option:
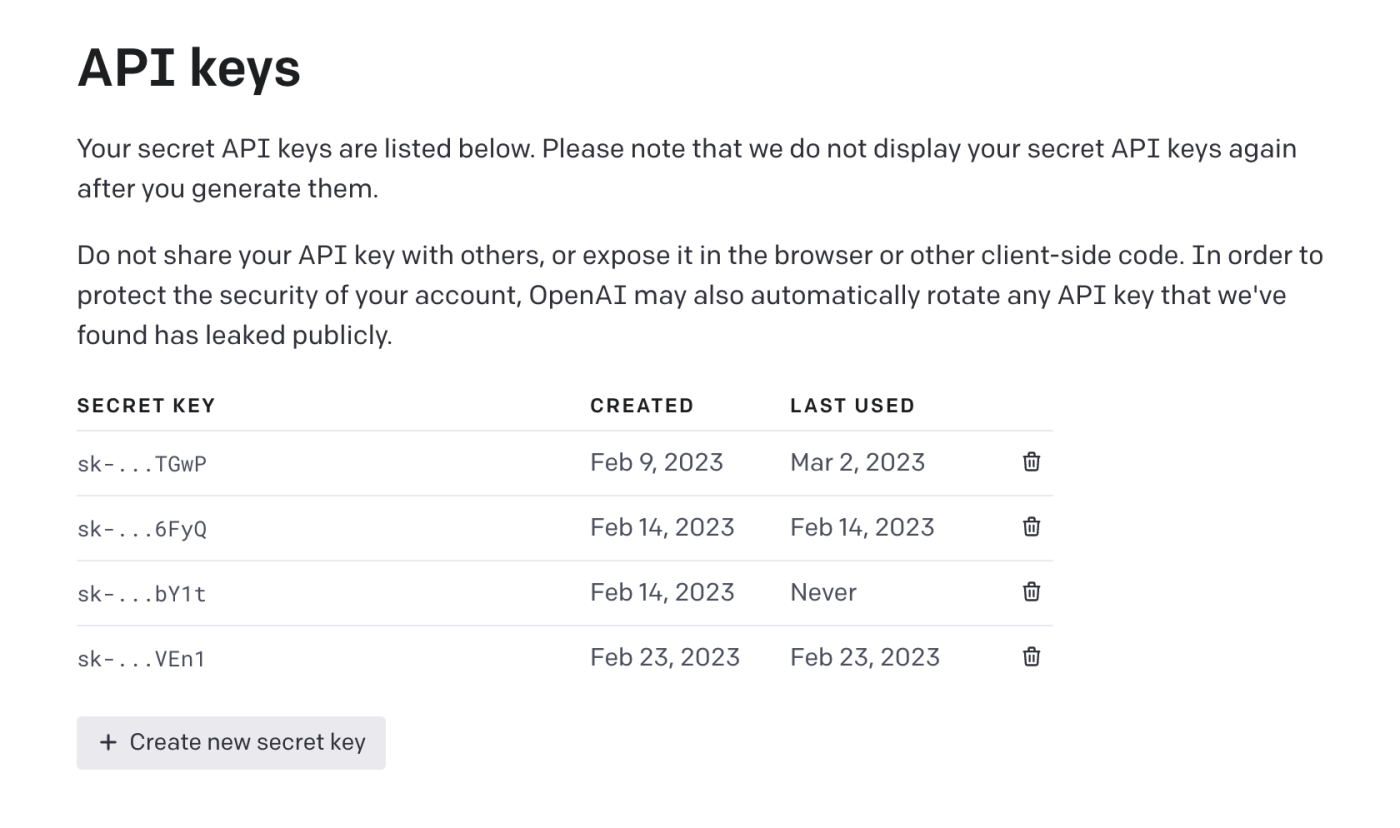
From that page, click on the + Create new secret key button to generate a new API key. You'll need this key to connect to your OpenAI account within Zapier. Copy this key and store it somewhere safe!
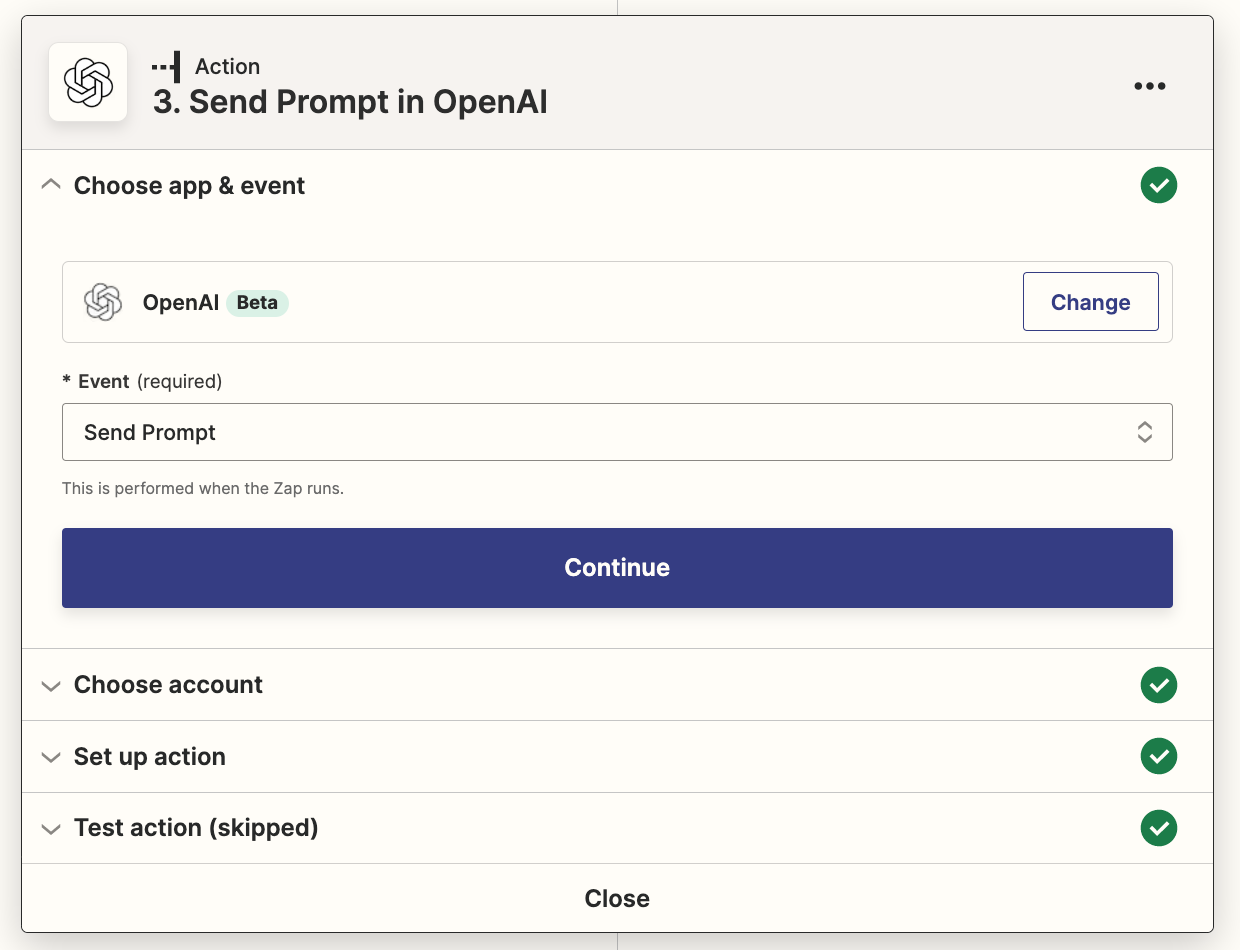
Head back over to Zapier and add a new action step at the bottom of your Zap. Search for the OpenAI app and choose the Send Prompt event:
Click on Choose your account, and set up a new account by providing the API key you just generated in OpenAI. If you already have set up your account connection, simply select your existing account.
Head to the Set up action section to set up the prompt we'll be sending over to OpenAI. In the Prompt field, copy and paste the following, replacing the bracketed content with the Output variable from your Formatter step:
Summarize this article:
"""
<Output from Formatter Step>
"""
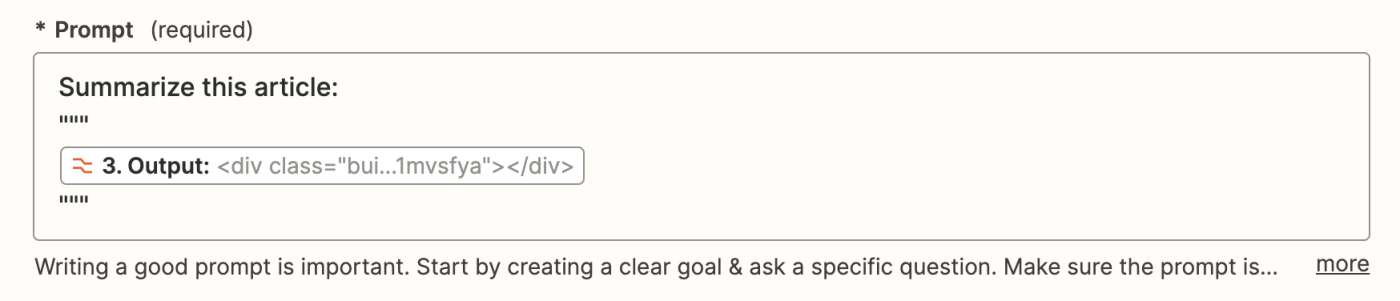
The triple quotes help GPT-3 to understand where the article starts and stops.
If you want, you can give it more specific instructions for the summary depending on your use case. Experiment with some of the following and see what you like:
- Summarize this article in 5 sentences or less
- Summarize this article in 3 bullet points
- Provide a 2-sentence engaging summary of this article that I can use in an email newsletter
For now, you can leave all of the other options with their default values.
Choose the option to skip testing this action. GPT-3 fails to process the Zapier website due to a token limitation, so we'll leave this for now until we test on an actual article.
Set up the Reply to Chrome action
Finally, we'll set up the action step that will return the summary back to the browser extension so that we can read it directly from the Zapier extension where we kicked off this process.
Add a fourth action step. Search for the Zapier Chrome extension app and select the Reply to Chrome event.
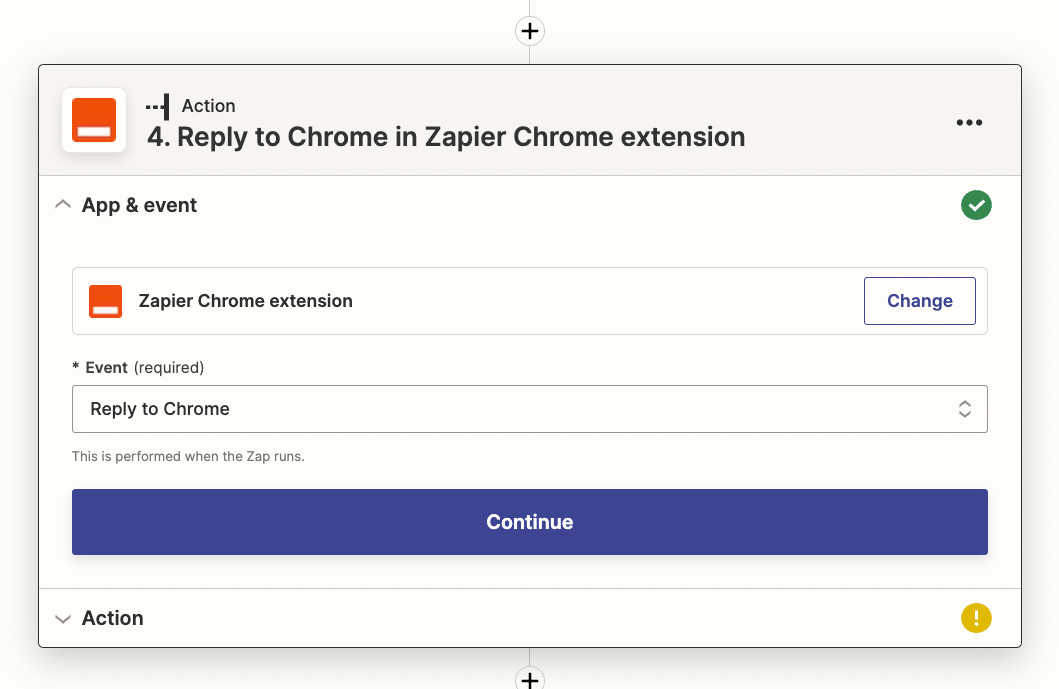
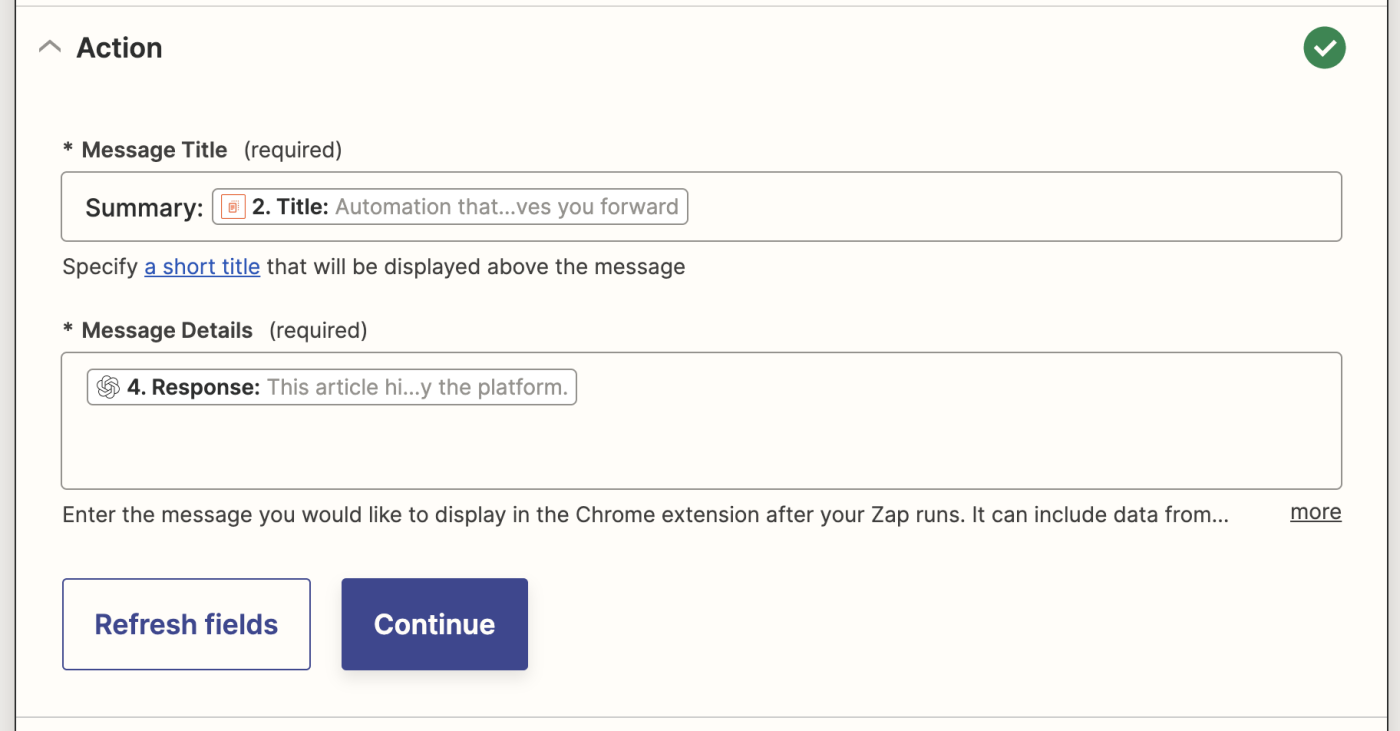
Then head to the Set up action section. For the Message Title field, I included the text "Summary:" and then the title from the Web Parser step.
More importantly, for the Message Details field, you'll want to pass in the prompt completion from the OpenAI step. To do this, click in the field and select Choices Text from the dropdown—this will contain your results from OpenAI.
Click Continue and skip the test action step for this as well. On the top left of your screen, give your Zap a descriptive name. I called mine Summarize Article with GPT-3. On the top right, click Publish to make your Zap live!
Putting it all together
Now that you have your entire Zap built and running, it's time to test the process!
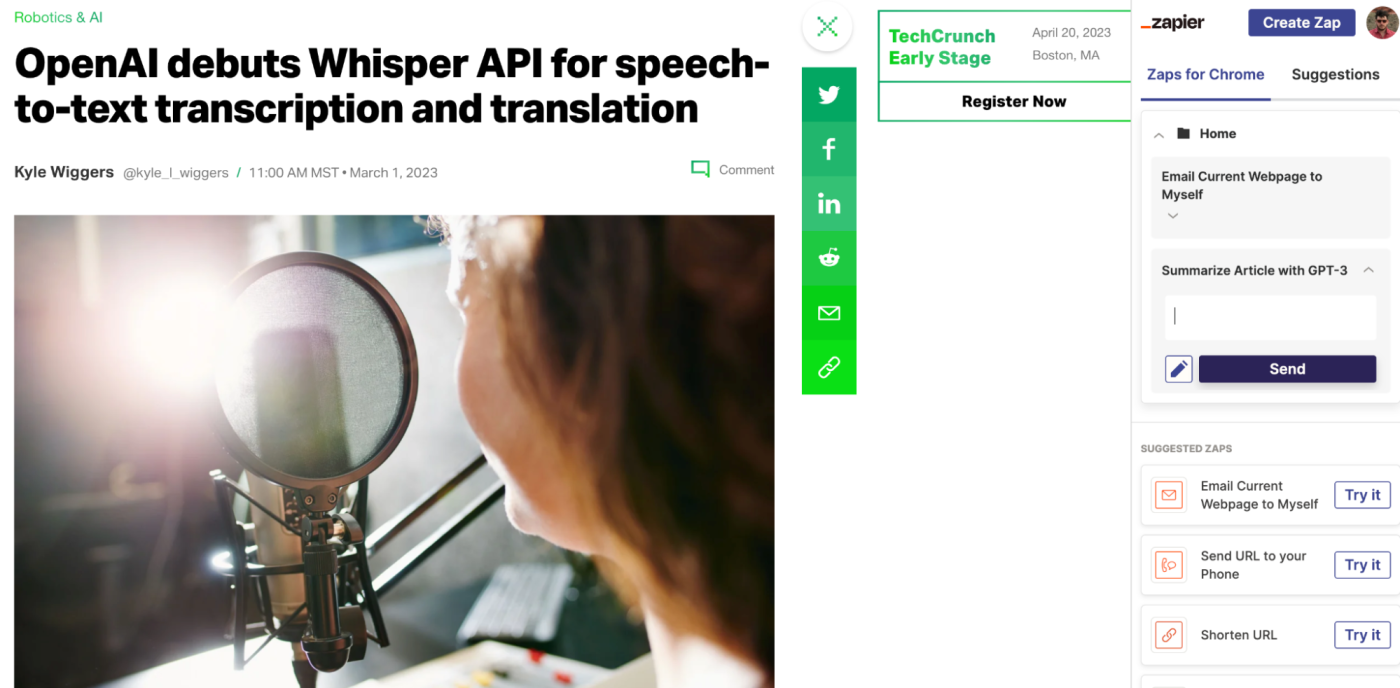
To begin, navigate to an article you want to summarize. I'm using this article about OpenAI's Whisper API from TechCrunch.
Open your Zapier Chrome extension and click the down-caret next to the name of the Zap you just set up. You can leave the text field blank, and simply click the Send button.
After you click Send, you should briefly see a green check mark appear. Wait for a few more seconds, and you should see the article summary appear in the extension like you see here:
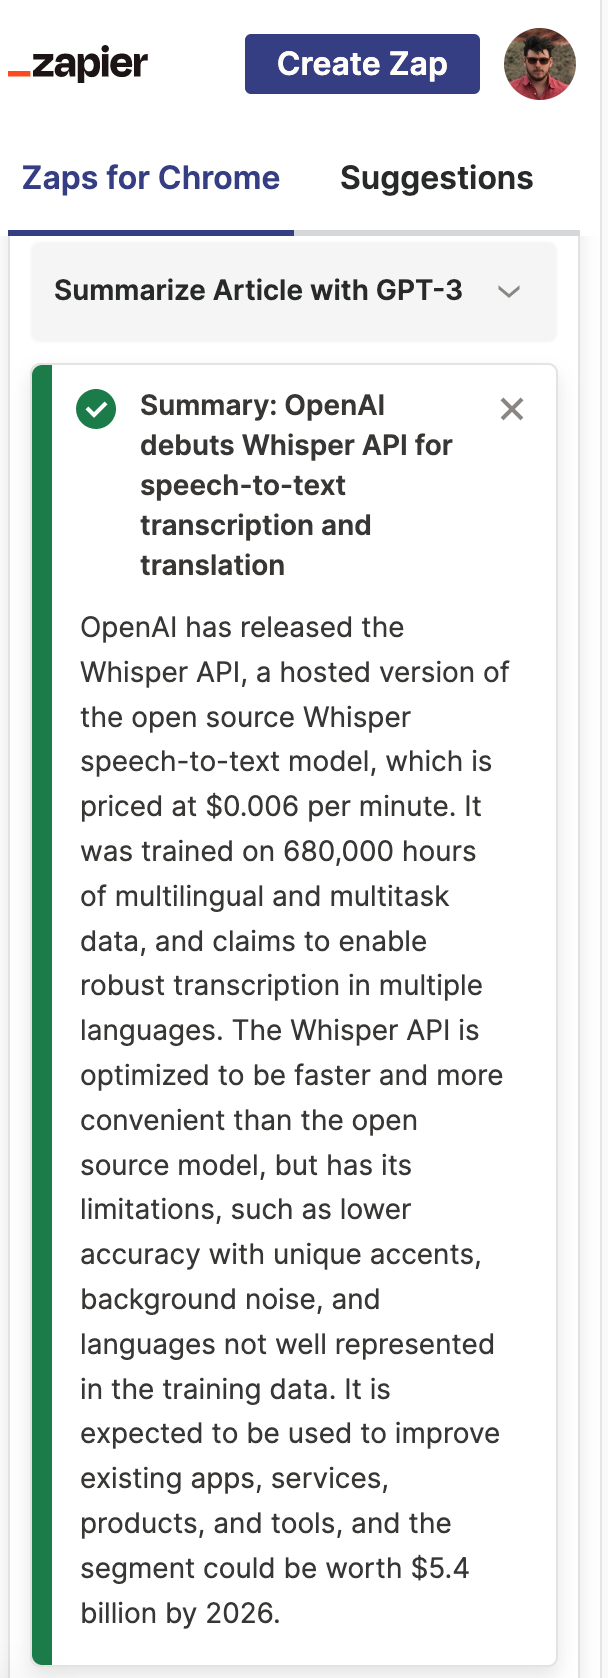
You now have a working article summarizer that will create summaries for any articles you come across on the web! Use it to summarize long articles, create a newsletter covering a niche topic, or generate a tweet summary for an article of your own. Get started.